# Overview of the Receipts process
Once a Purchase Order is approved and the item(s)/service(s) are provided by the supplier, receipt(s) can be entered against the purchase order. The receipting process takes place in the DX2 Portal. Items/services may be received in full or in instalments. If they are received in instalments a partial receipt can be recorded.
TIP
It is not a must to create a Receipt for services received. Not creating a Receipt will affect how the matching and approvals process works when an Invoice is received. Please refer to the documentation on Matching process.
Access to the Receipts functionality is role based. To have access to it, users need to belong to a Security Group which has the Goods Receiver Role enabled. Once it is enabled, the + Receipt option will appear in the users menu bar.

The receipting menu is found below the +Credit Note on the left-hand tab. This allows the user to create a new receipt.

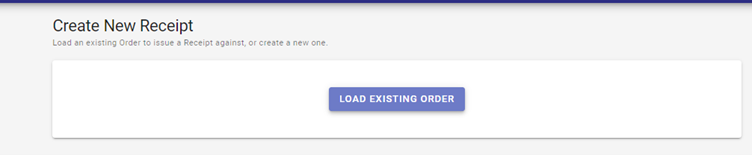
Receipts are created by loading an existing order. Click on the Receipt option.
Click on the LOAD EXISTING ORDER button on the page that comes up. It will open the Load Order page.
TIP
Receipts can only be created for an approved Purchase Order in the DX2 Portal which has not been Closed for Receipting.
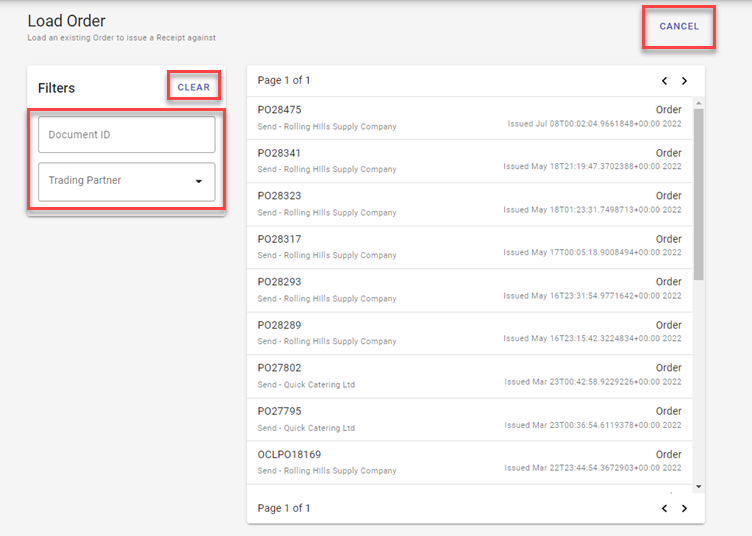
This page will show a list of Purchase Orders available for receipting. The Purchase Orders can also be searched on using the Filters on the top left side of the page. Filters available are Document ID and/or Trading Partner.
Filters can be cleared at any time by clicking on the CLEAR option in the Filter area.
Click on the CANCEL option at the top right side of the page to cancel out of the receipt entry process.
Selecting an order will open the Create New Receipt page where receipt lines can be created.
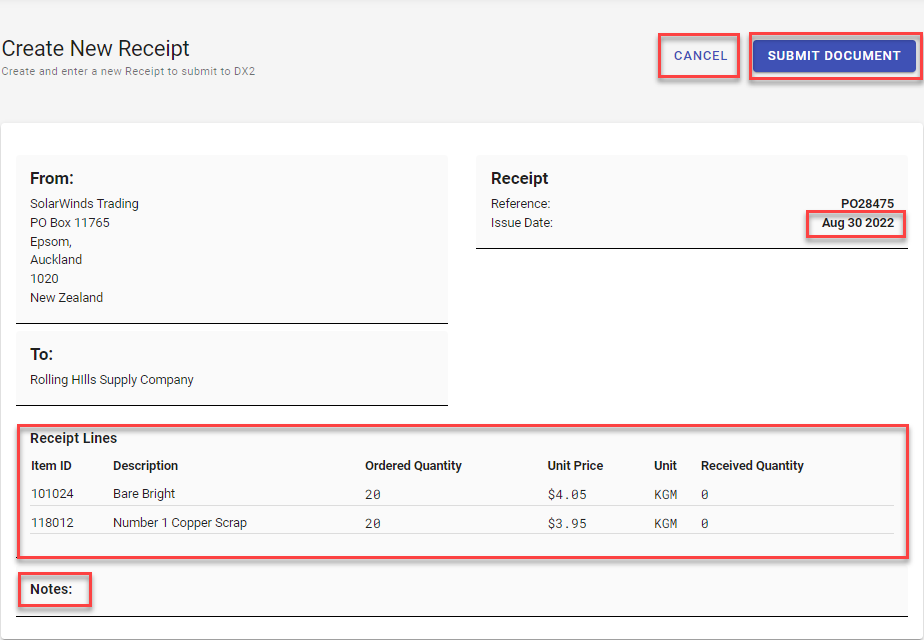
This page will have the Header information auto-filled from the Purchase Order which was selected earlier.The Issue date will be the system date when the receipt was created but can be changed to another date by clicking on the date field. The rest of the information on the Header cannot be changed.
Notes for the receipt can be entered in the Notes area.
The Receipt Lines area will show the Purchase Order lines against which the Received Quantity can be entered.
# Full Receipt
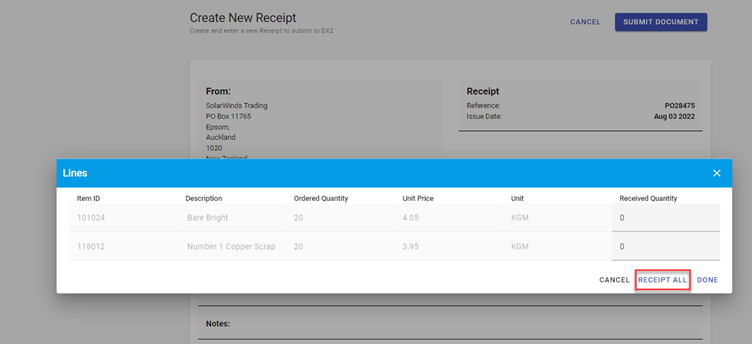
For a full receipt against the Purchase Order, click in the Receipt Lines area which will open the Lines window. This window has the RECEIPT ALL option which will populate the Received Quantity for you. Alternatively the full quantity can be directly entered against each line.
Close the window by clicking on Done or Cancel depending on how you want to proceed.
# Partial Receipt
To partially receipt against a Purchase Order, click in the Receipt Lines area which will open the Lines window. Enter the receipt quantity in the Received Quantity field against the relevant line(s).
TIP
The Receipt document is created on Submitting it. It can be cancelled at any time before that.
# Viewing Receipts
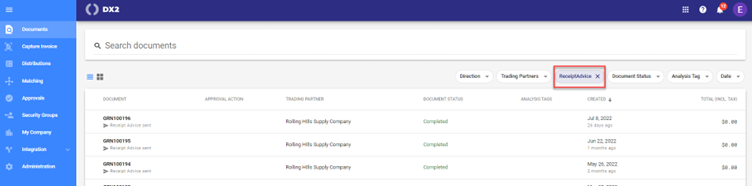
To view a listing of receipts, click on Documents in the sidebar. Receipts will be shown here along with other documents such as Purchase orders and Invoices.
To view only Receipts, choose the document filters of ReceiptAdvice. Further filters can be applied as required.
# Cancelling Receipts
A receipt once submitted, cannot be cancelled or deleted.