# Coding an Approval Document
TIP
This page is meant to be a quick-start guide for a coder to code an Approval Document. For more detailed information, see Approval Documents and Approval Distributions.
To code an Approval Document, you first must be assigned to it for coding. This can be done in the following ways:
- You are in the Default Approval Document Group (see Approvals Setup for more details)
- Someone has reassigned the Document to you
- Someone has requested the Document to be Recoded (and your security group had initially coded it).
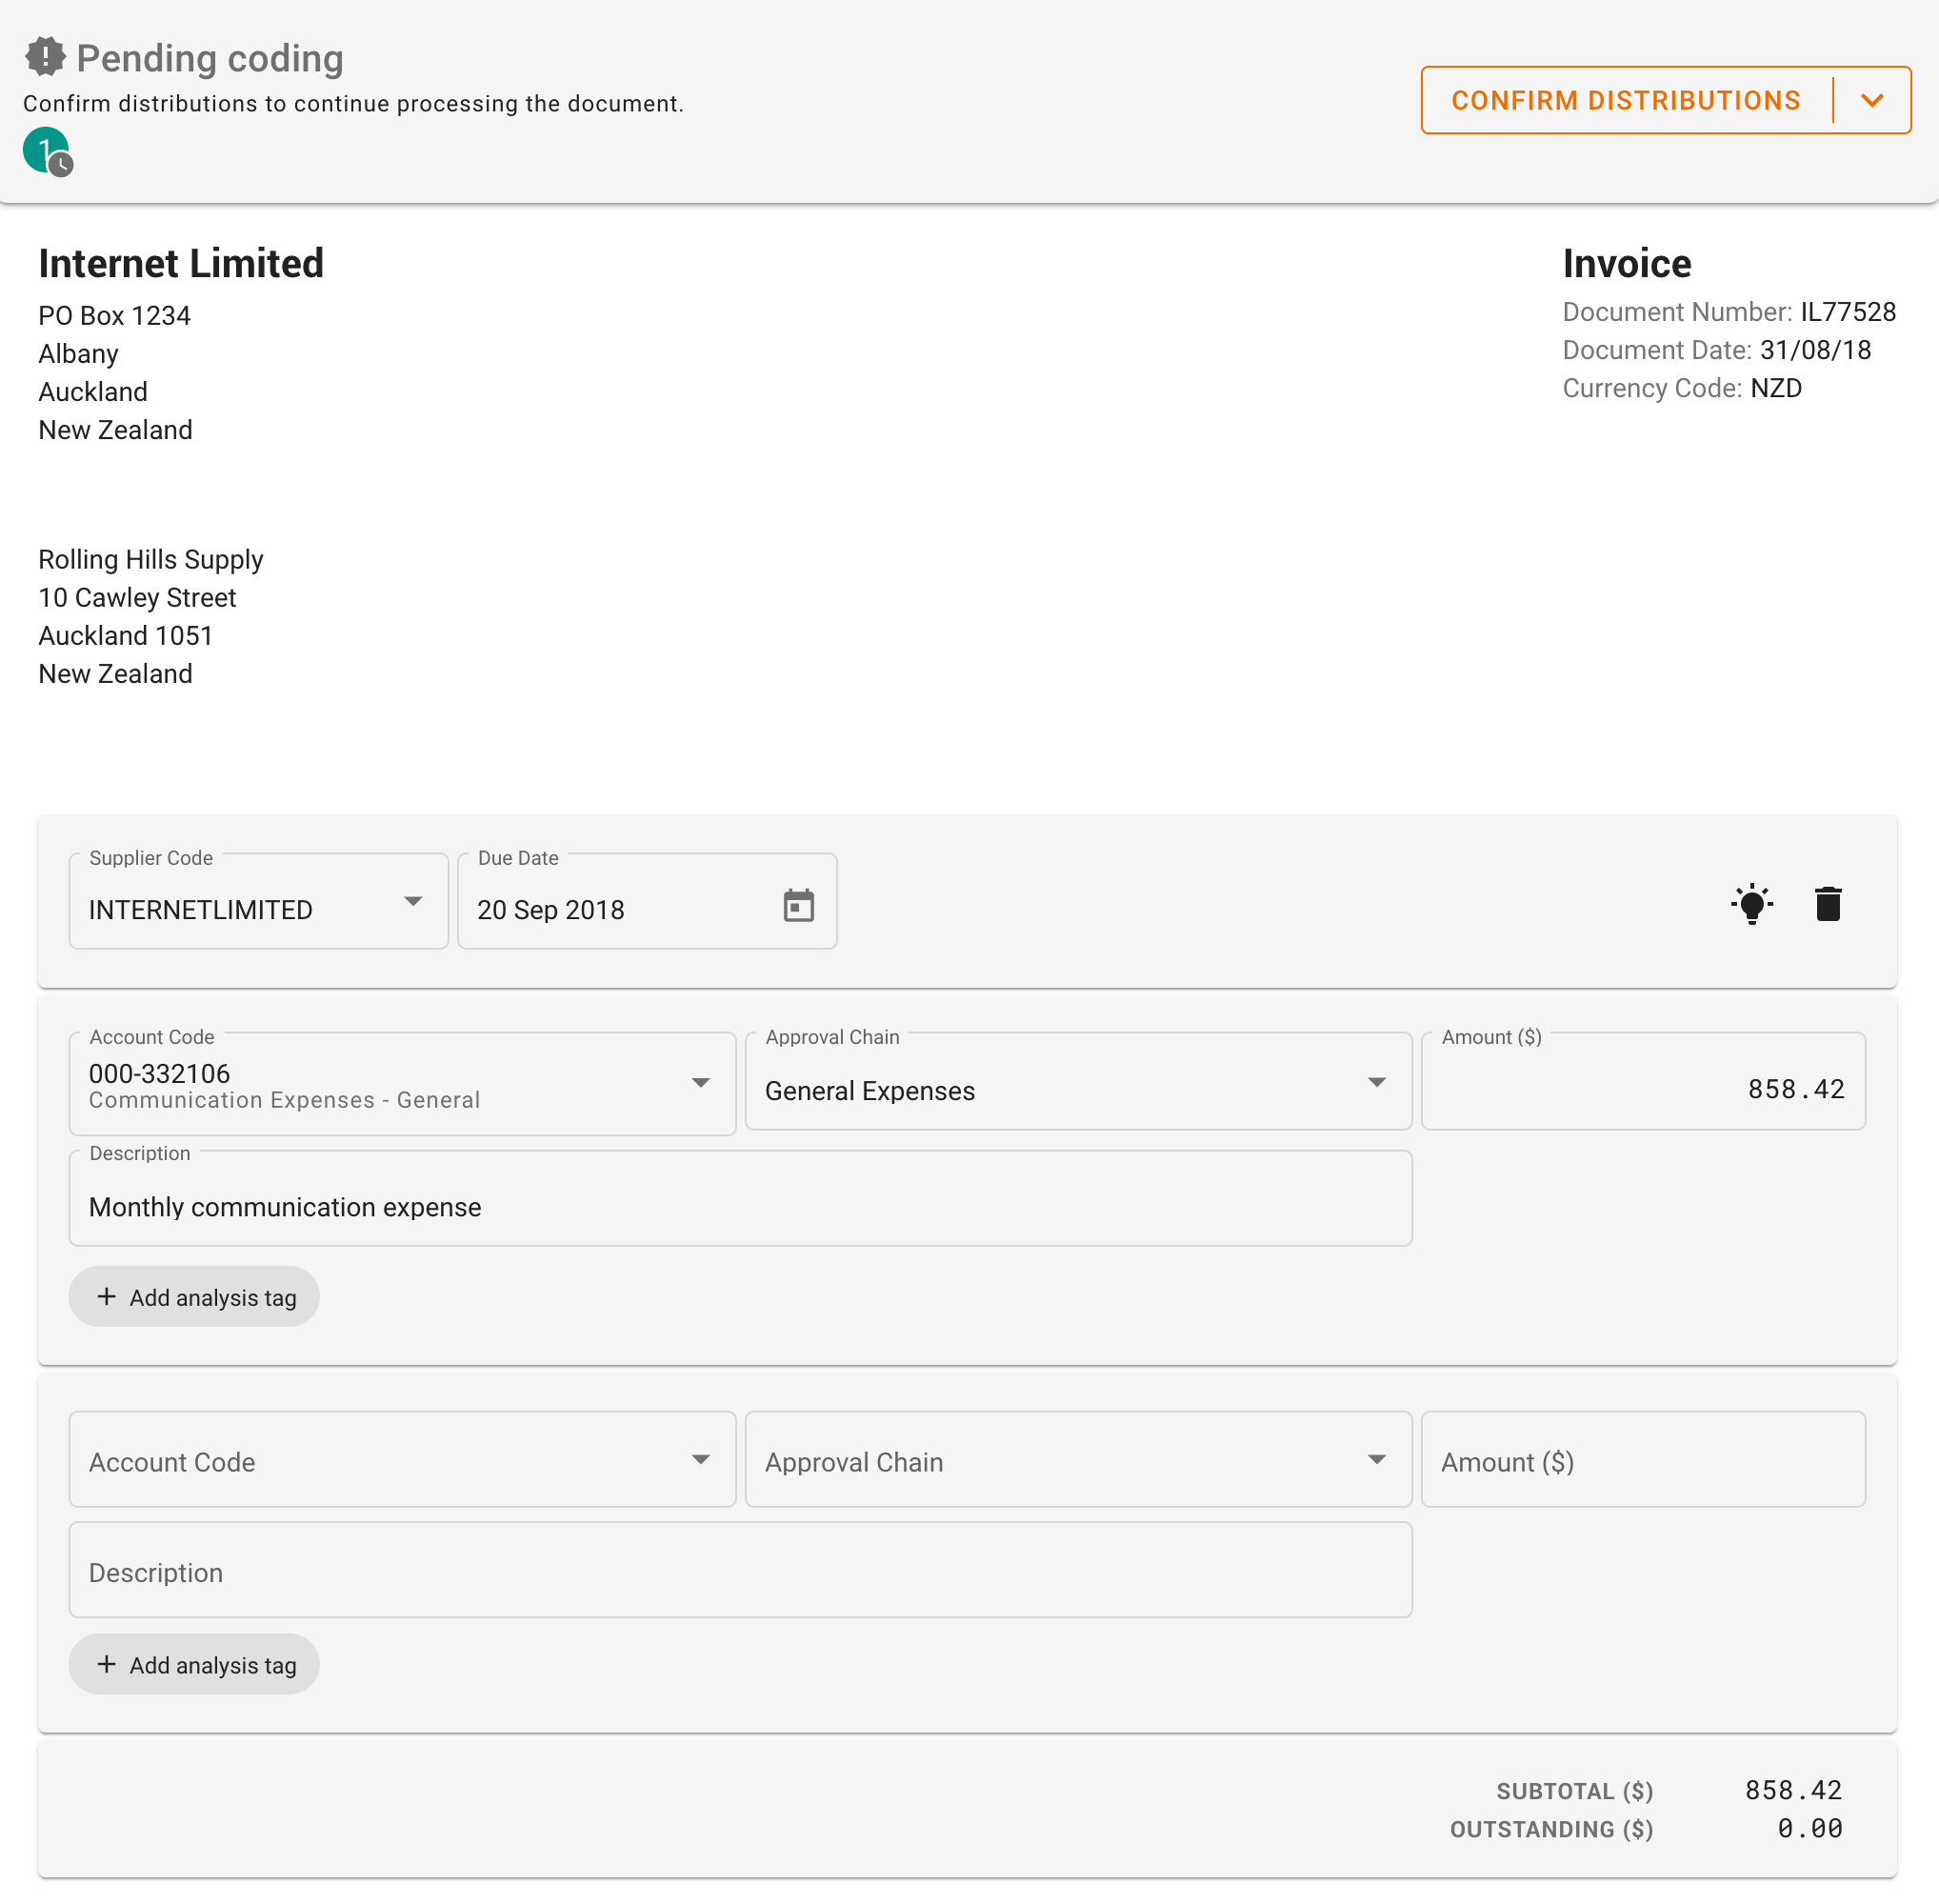
You should see the following if you are assigned to the Document for coding:
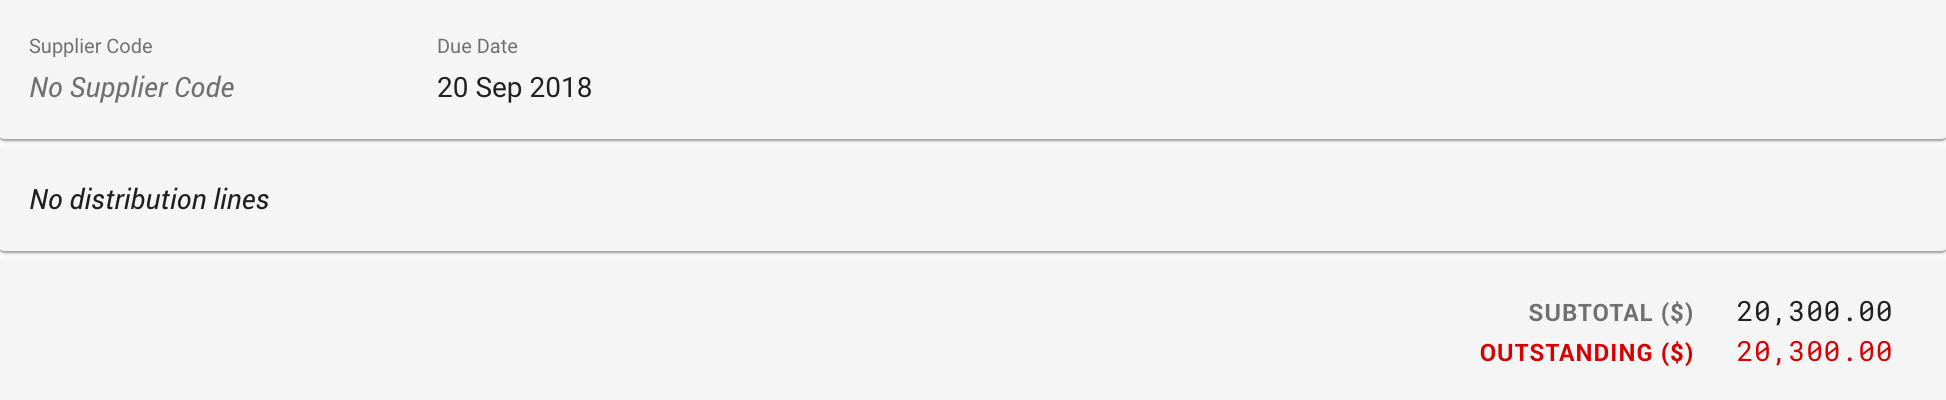
If you are not the coder, you will see the below:
As a coder, you may also reject the Document. See Rejecting an Approval Document for more details.
# Accepting the Suggested Distributions
For repeating orders or invoices, in most cases, a suggestion will be preloaded on the page.
TIP
If you have multiple supplier codes for the Trading Partner, you will need to select one before the suggestions show up.
If the suggestion is correct, then simply hit the Confirm Distributions button in the state banner.
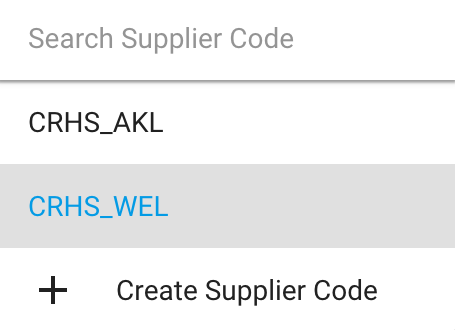
# Supplier Code
You will need to select a supplier code for all Approval Documents to be processed. Simply select one from the drop-down list.
WARNING
These must correspond to the supplier codes in your financial system, otherwise it will reject the Document. This is why adding a supplier code is an explicit action.
# Distributions
Start with looking at the invoice or order to determine which account codes are needed, then divide the total between each account code.
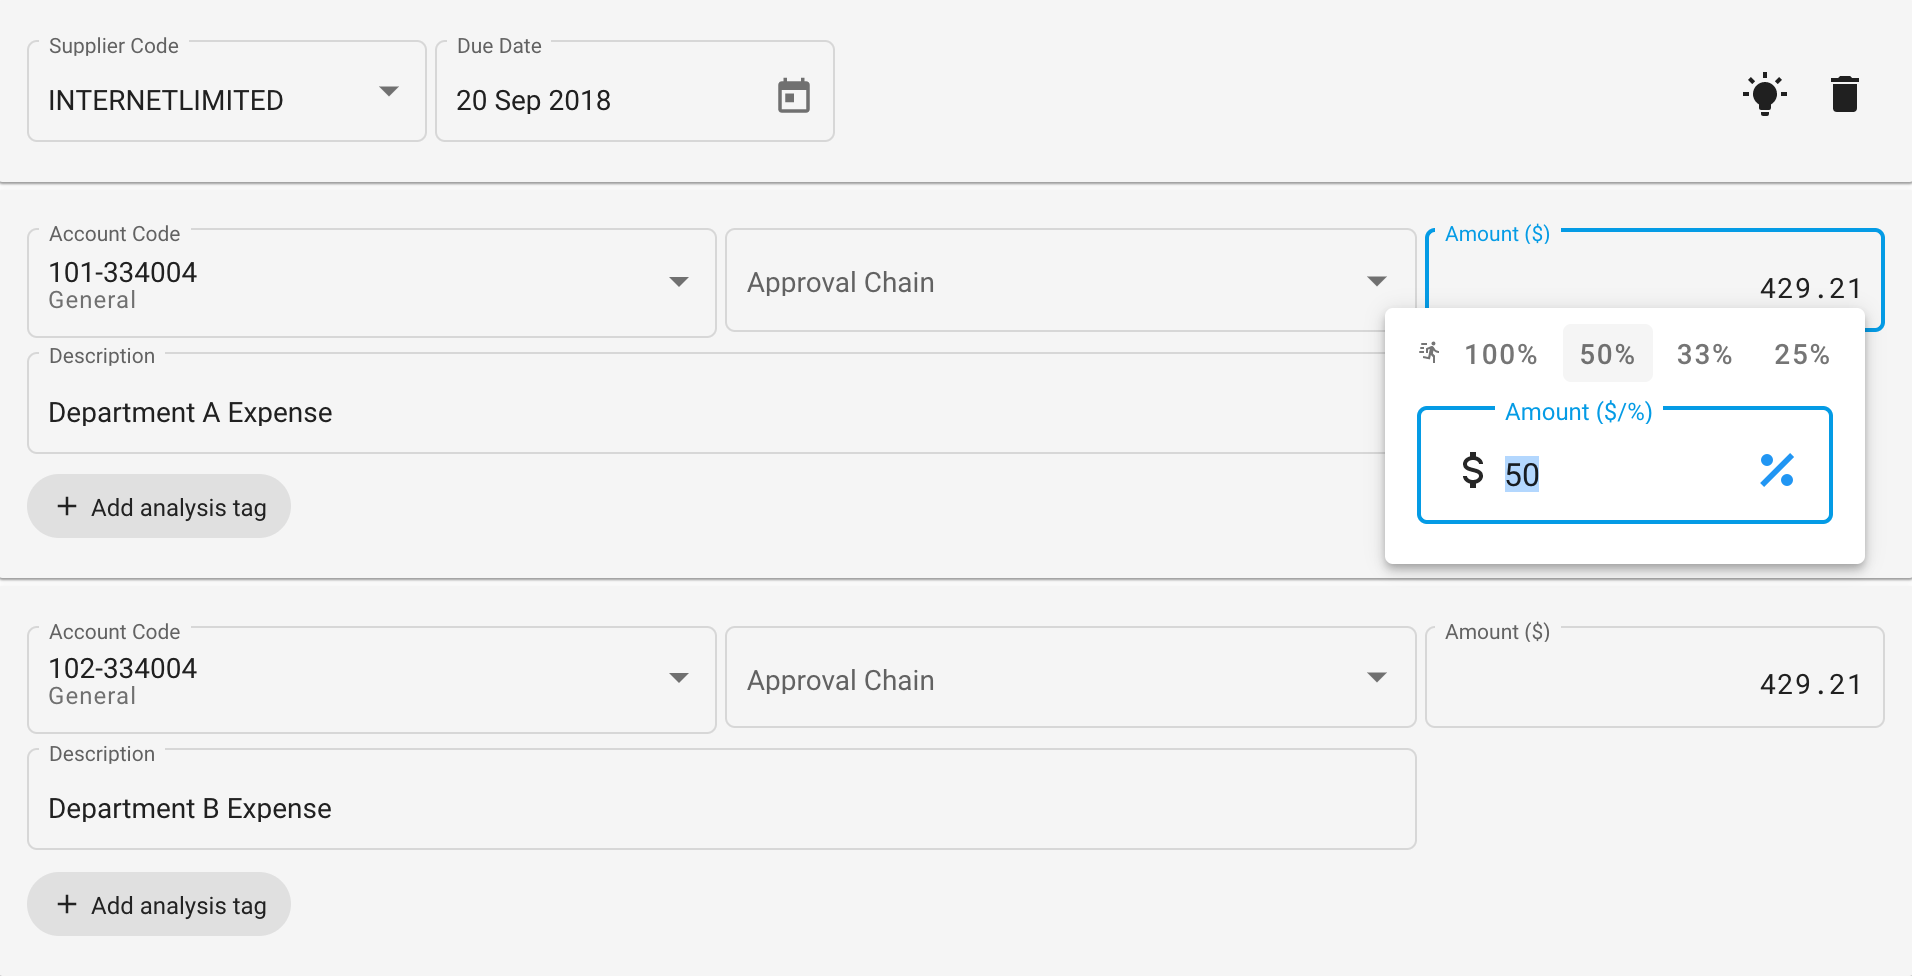
In the example below, suppose we want to split the invoice in half to two departments. I would do the following:
- Pick the
101-334004 Generaland102-334004 Generalfor the first line and second line respectively. The account codes will be different for your organisation, but the steps should be similar. - Click on Amount and pick
50%on each.
TIP
If you want the line item amounts, you may copy it from the line item information below.
Optional: Add an appropriate description.
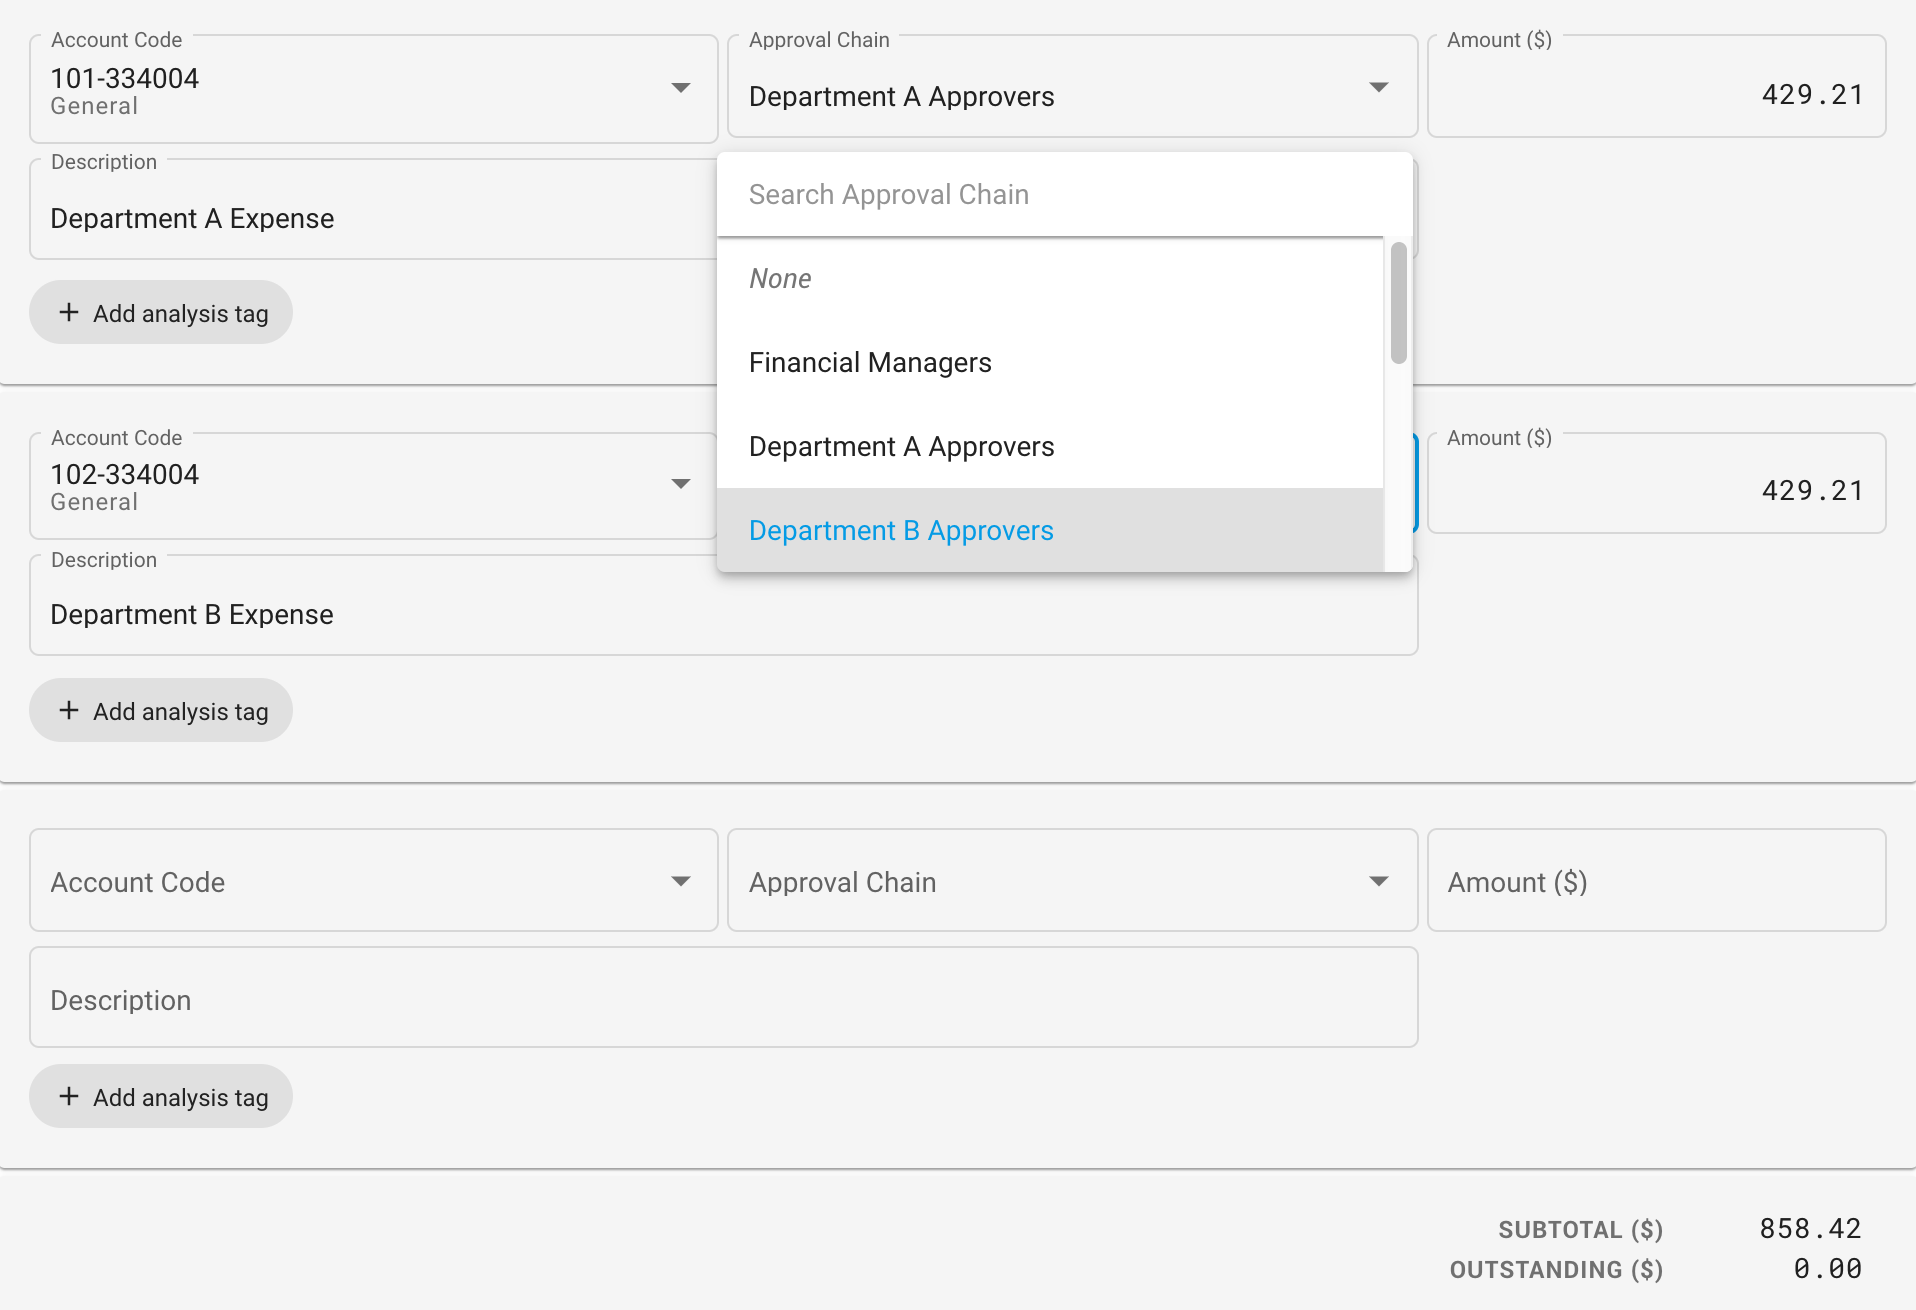
Pick an appropriate approval chain. In this case, I pick Department A Approvers and Department B Approvers respectively.
TIP
Ensure your organisation names the Approval Chains appropriately so it's easy to identify who it goes to.
- Optional: Add some analysis tags to be able to analyse your distributions later.
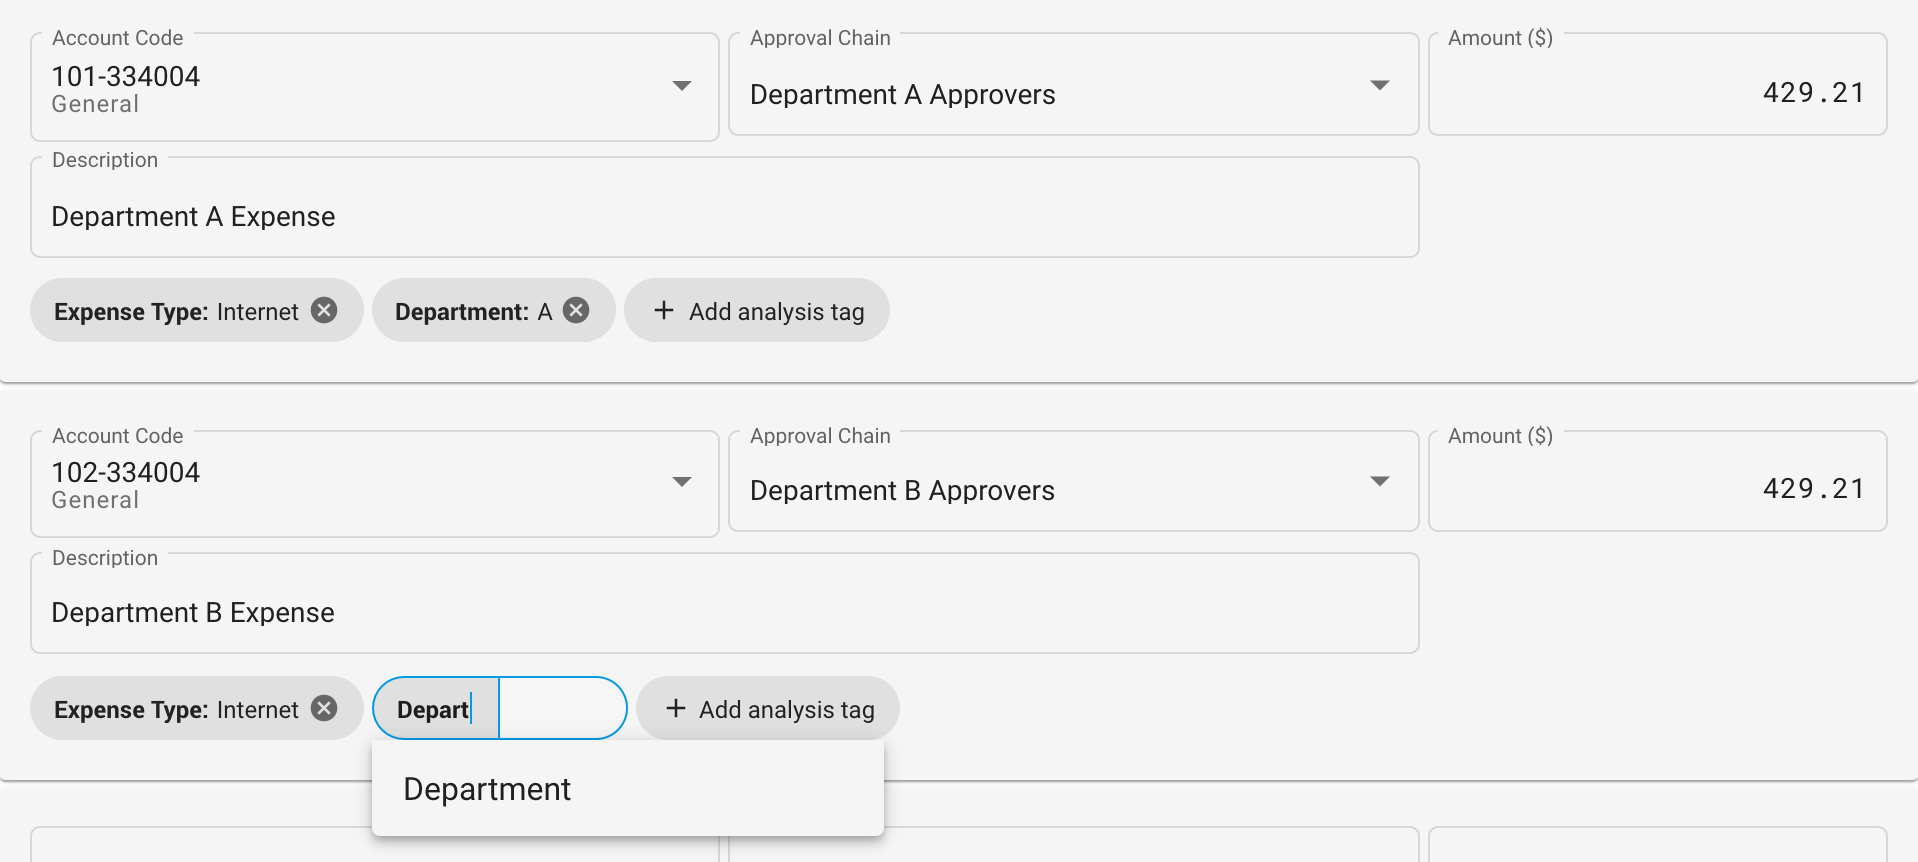
TIP
You can add analysis tags at any time, even after the Approvals process. Simply Save the Document when you are done adding or removing them.
# Confirm Distributions
Finally, once you have finished coding the distributions, click Confirm Distributions. If all goes well, then the Approval status will change to Pending Approval after taking this action.

# Error when Confirming Distributions
If a required piece of information is missing, the following modal will show up:
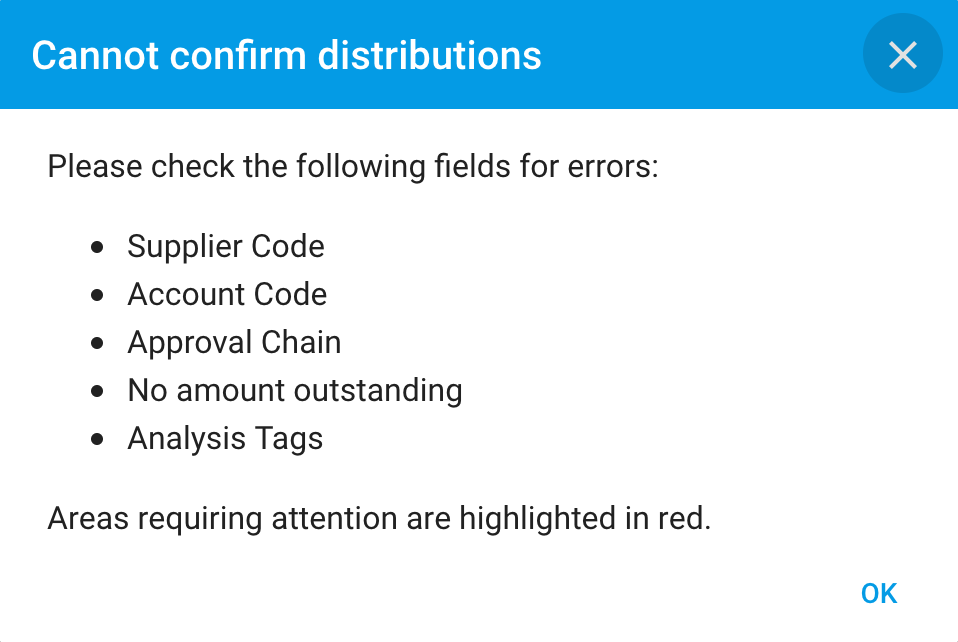
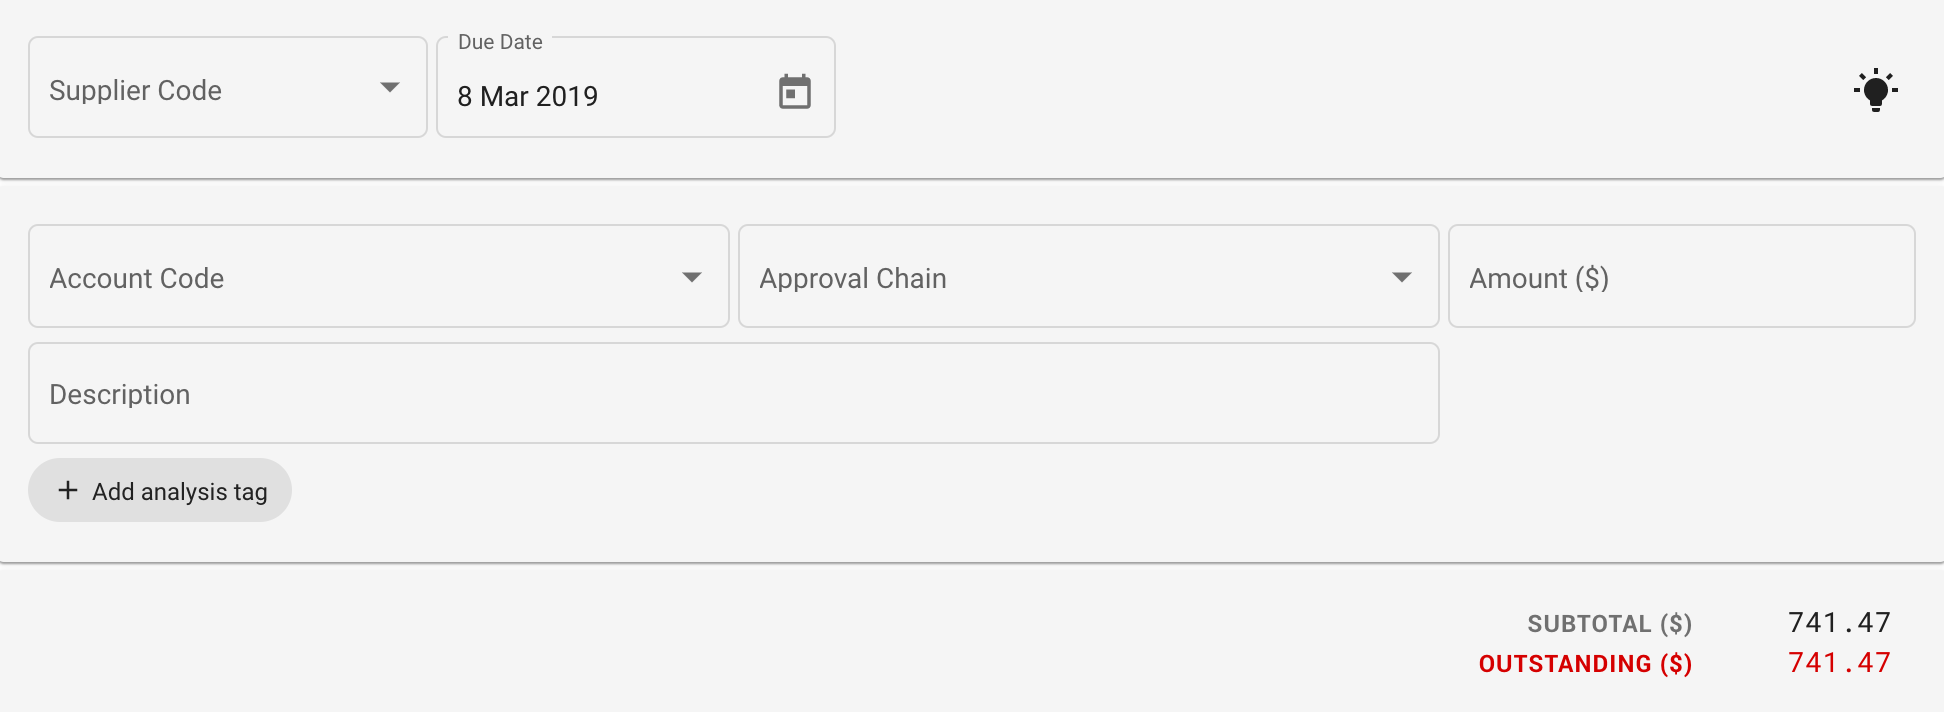
The appropriate area will highlight in red, as in the image below.
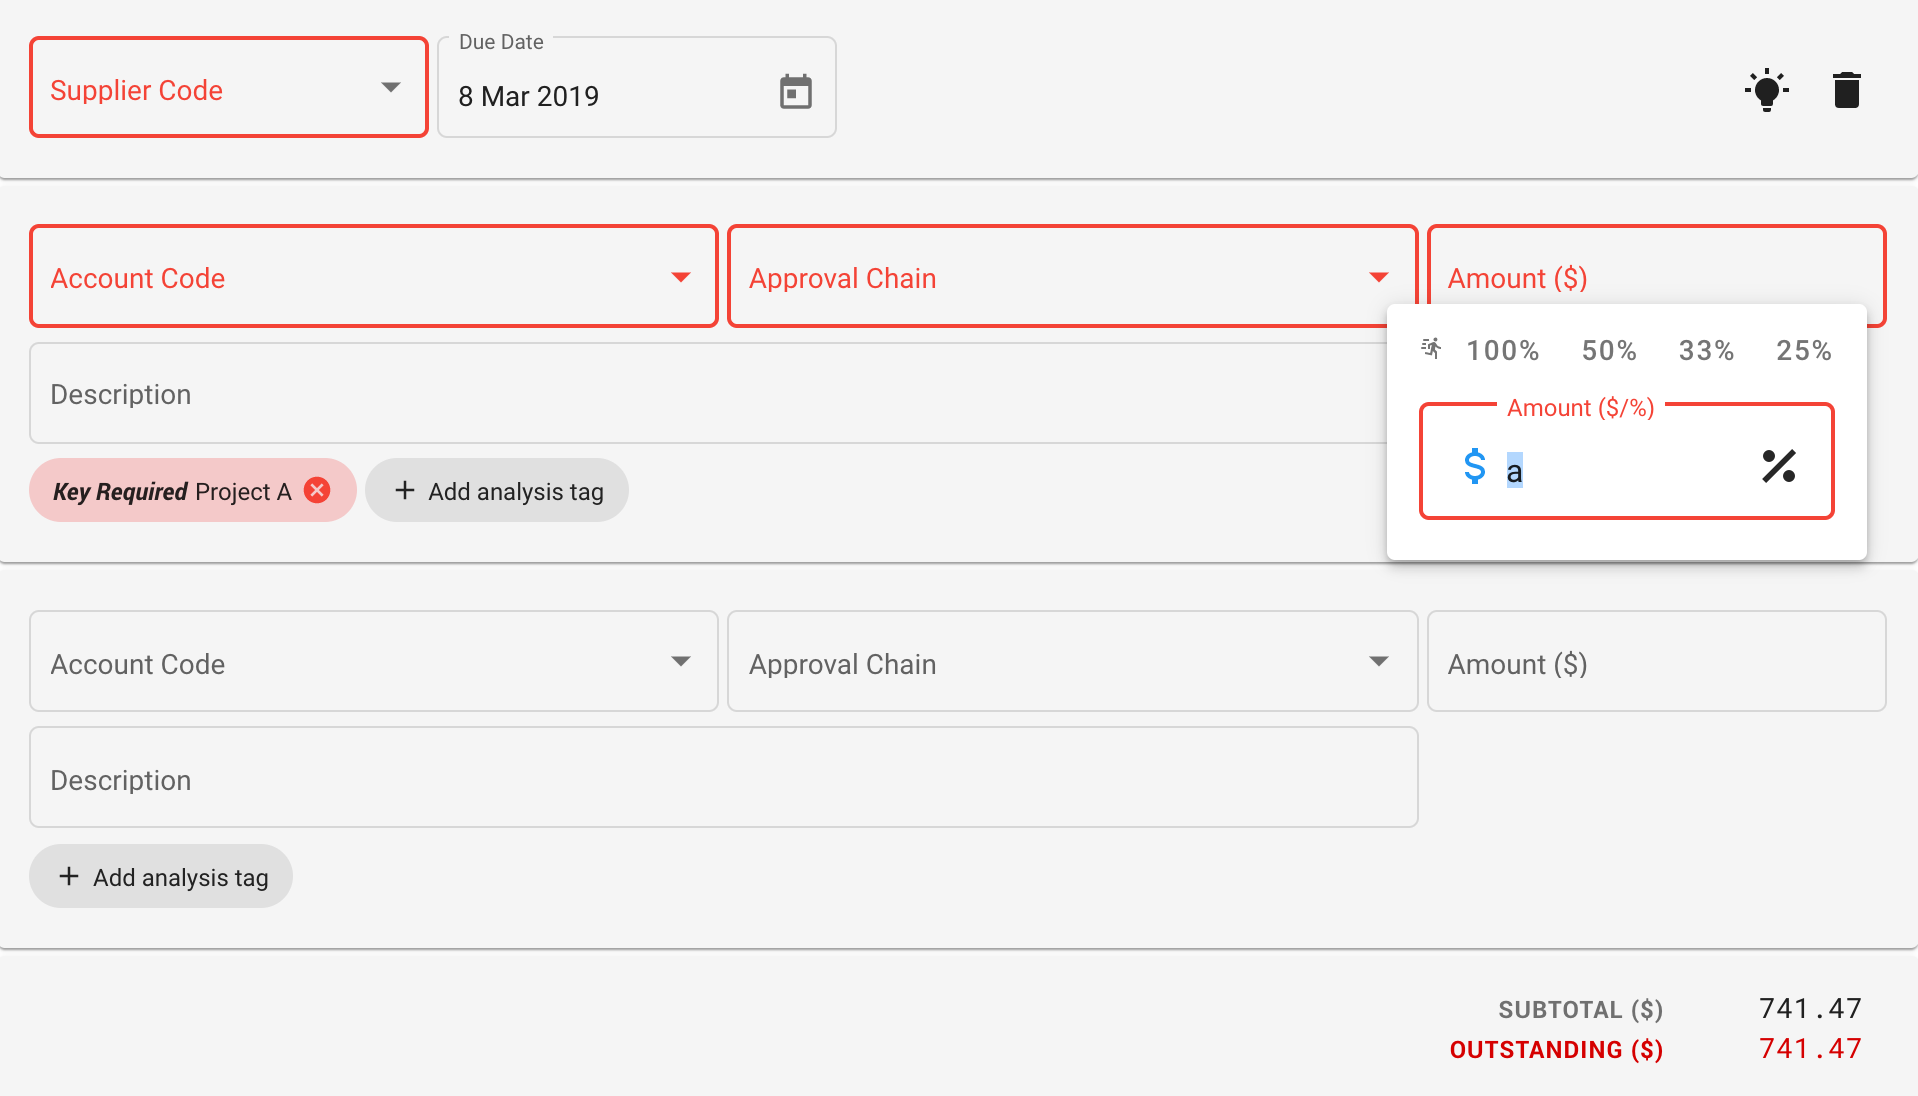
Areas to check:
- Supplier Code is selected
- Account Code is selected for all distributions
- Approval Chain is selected for all distributions
- Amount has been entered for all distributions
- Check the amount overlay by clicking on it to see if it has validation errors
- It must be a valid numeric format, e.g.
12.33,-12.33,12
- Analysis tags must have a key and value
- There is no outstanding amount ($0 on the bottom right).